After collecting everything across the Continent on your way here, it’s time for Gustave and the Expeditioners to explore Stone Wave Cliffs. This area introduces new enemy types, some of which are especially vulnerable to Sciel’s abilities, so it’s a good idea to bring her along. In this walkthrough, I’ll guide you through how to find all the collectibles and help you achieve 100% completion for Stone Wave Cliffs.
Stone Wave Cliffs Entrance


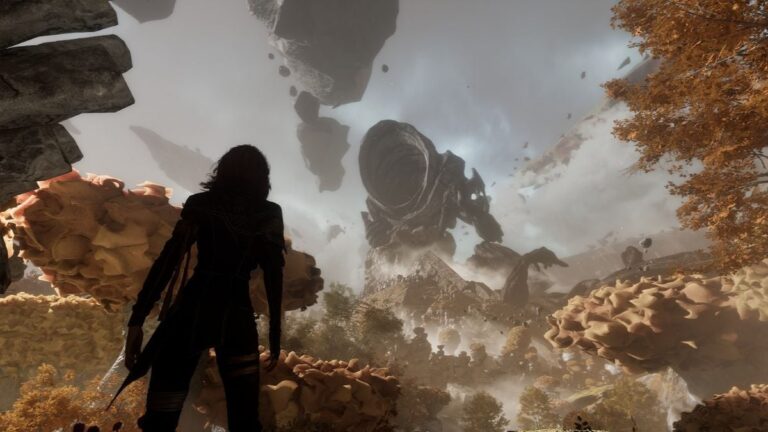
When you first arrive at Stone Wave Cliffs, you'll immediately notice the stunning clifftop views. Move forward until a cutscene plays, then continue through a short cave to find your first Expedition Flag: Stone Wave Cliffs Entrance. Don't miss the Chroma x790 right across it.
As you enter the next area, you’ll spot a massive stone monster known as a Hexga. Before engaging it, take the upper path on the right and follow it until you find a magic rope. Climb up to discover Journal – Expedition 78.
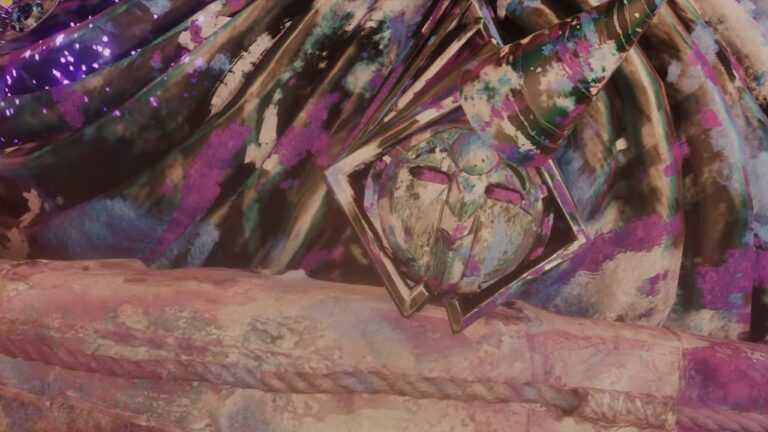
Beside the journal, there is a cave heading towards a Paint Cage. As with all Paint Cages in the game, you'll need to find and destroy three locks to open it:


- First lock: Look up and behind the cage
- Second lock: Climb the magic rope and look to the right, above the rock pillars
- Third lock: Jump onto the short pillars just left of you

Once opened, you'll receive the Delaram weapon for Gustave. Get out of the cave, turn right, and jump down. Head straight to get a Colour of Lumina.


Now it's time to return and defeat the Hexga. This enemy hits hard but has predictable attack patterns. After defeating it, you'll earn Pictos - Confident. Before moving on, search inside the wreckage of what seems to be Expedition 78’s airship for Pictos - Breaking Counter.
Continue forward through the tunnel. Use the grapple point to cross the gap, making sure to grab the Colour of Lumina on the right side after crossing.

Follow the path until you reach an open area where the route splits. Take the left path first and defeat the Reaper Cultist to earn Pictos – Energising Pain and Sciel Weapon – Chation. This is such a great weapon for Sciel as it applies 10 Foretell for every Sun Skills usage. Continue to find Journal – Expedition 56.


Cross the bridge and take out the Greatsword Cultists blocking your way. After defeating it, look to the left side to see a gazebo with a Colour of Lumina in it. Before going to the main path, check your right to see climbable ledges. Get up there and kill the enemy to get Pictos – First Strike just behind it.


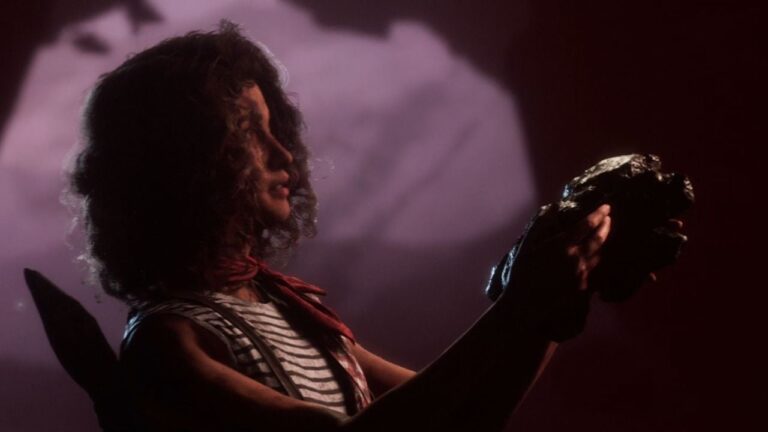
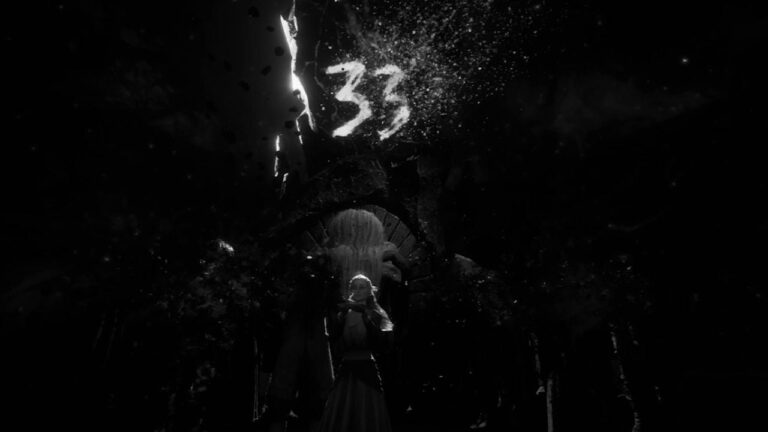
Now, head back down and use the grapple point to cross the gap. On your right, pick up Chroma x790, then speak with the shade of the Young Boy to unlock some story development. Continue to the left to discover the Expedition Flag: Paintress Shrine.
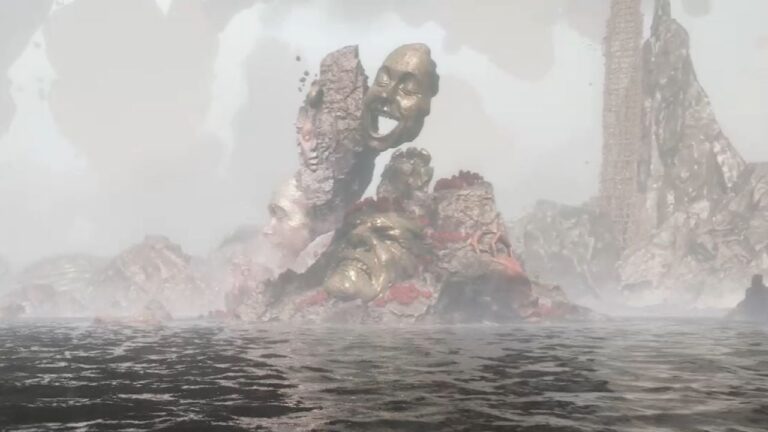
Paintress Shrine


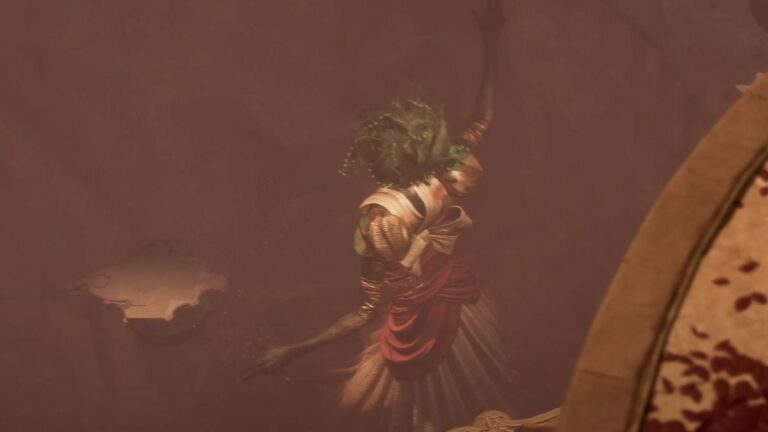
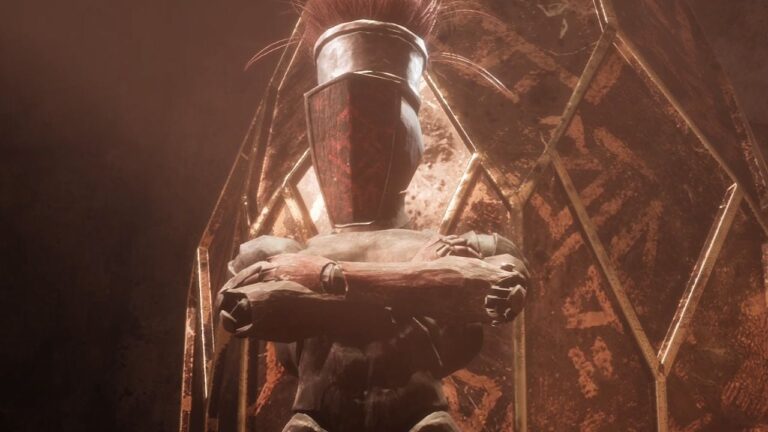
From the Expedition Flag, turn left, and defeat two Rocher enemies. They’re guarding a Healing Tint Shard, so be sure to collect it before returning to the Expedition Flag. Now head down towards the main path and get the Energy Tint Shard right ahead, below the Paintress statue. Then, cross the rock bridge ahead, taking down the Rocher that ambushes you along the way.


Now, hug the left wall until you find Journal – Expedition 50. At the cliff edge, look for broken stairs and use the grapple point to reach a floating island containing Chroma x3,160. From there, you’ll see a second grapple point on your right. Use it to grab an additional Chroma x1,580.
Follow the path to see the handholds, climb it, and you are now on the main path. Fight the enemy on the middle path for extra XP and Chroma, and then turn left again to get into a huge cavern.


Kill the first patrol you see, and then look to your right to see a sloped path. Go there and get the Colour of Lumina at the end, then head back and get Pictos - SOS Power just behind the statue.
Drop down and continue towards the tunnel with lanterns hanging on the ceiling. Follow the path and grapple across the gap. Get the Chroma x790 on the right, and use the magic rope to reach the ledge above. Follow the path and activate the Expedition Flag: Old Farm.
Old Farm


Once you continue the path, you will immediately see Chroma x790 on the right. Follow the route behind the house and head into the pathway. Clear out the Reaper Cultist and Greatsword Cultists as you advance.


Behind the large rock in the middle, you will get a Polished Chroma Catalyst. Follow the path and crawl through a small opening to meet Jerijeri, a Gestral Merchant selling:
- Sciel Haircut - Ponytail
- Sciel Weapon - Rangeson (if you defeat him in combat)
Activate the magic rope beside him, it will be a shortcat back to the entrance of the area. For now, return to the Expedition Flag: Old Farm.

When you are going down the slope, look at the windmill on your left. Drop down there and get Polished Chroma Catalyst. After the windmill, there is a path to the left you can take to find another Paint Cage. To unlock it:


- First lock: Turn your head left from the cage, on top of a stone wall between pillars
- Second lock: Keep turning to the left, look slightly below you, in front of a hut
- Third lock: Keep turning to the left, just beside the tall tree
Open the cage to receive the Maelle Weapon - Duenum. Proceed and kill the Hexga and Rocher. Before going forward, head back towards the starting slope, and you will see a Pétank found in a yard on the right side halfway down.


To defeat the Pétank, start by chasing it out of its yard and following it down the slope. At the base, take the first side passage on the right to continue tracking it. Inside, you’ll find a cracked platform, where the battle takes place.
This Pétank can summon Nevrons to guard it. Immediately kill the bodyguards first, because hitting the Pétank while there is a guard will not damage it. Defeat it to claim Polished Chroma Catalyst x5, Colour of Lumina x5, and a Recoat.


Return to the yard where you first found the Pétank and follow the path behind it. Look left as you pass through the tunnel for another Colour of Lumina.
Continue following the path upward and right, then climb across the handholds when you reach them. On the far side, you'll meet a friendly Hexga starting a side quest. It asks for glowing crystals, which we will get soon. Proceed into the cave to find Expedition Flag: Tide Caverns.
Tide Caverns
Follow the cave path and grapple through the gap. Use the magic rope to go to an even deeper and darker cave. Kill the patrolling enemies first, then we need to search the three Rock Crystals required for the friendly Hexga's side quest.


- First Crystal: Found along the left wall of the cave where you initially descended
- Second Crystal: Just behind the huge rock pillar in the center of the cave, look for a Colour of Lumina near it
- Third Crystal: Head to the far right side of the cavern. As you approach the magic rope, a glowing Rocher will attack. Defeat it to obtain the final crystal
Don't miss the Colour of Lumina just outside the place where you defeated the glowing Rocher.


At the bottom, immediately turn left for a Recoat. Approach and defeat the Gold Chevalière waiting for you to earn Pictos - Perilous Parry. Collect the Chroma x3,160 on the left and enter the door to The Manor.

We’re back in the Manor again! But this time, we are in someone’s bedroom. Interact with the wardrobe on the left for Maelle Outfit - Skirt, and inspect the window if you wish. Exit the room, head down the stairs to find Expedition Flag: Entrance, then go through the main door to return to the Tide Caverns.


Before exploring further, return to the friendly Hexga outside and deliver the three Rock Crystals. After it moves, take the Pictos - Auto Shell.
Return to the cave and down the magic rope again. This time, take the path with flower petals on the left, near where you found the first glowing crystal. When the path splits, go right and do some parkour jumps to find Pictos – Breaking Shots.

Return to the split and take the left path. Grapple across the gap and defeat the Greatsword Cultists waiting ahead. Along the right wall, you’ll find a Colour of Lumina.


Before going further up, you’ll want to check explore the destroyed building on the left. There is a lever you can pull beside a table on the far side to open the door. Go up the stairs and turn right to get Chroma x3,160.
Exit the building and use the magic rope to reach the ledges above, where you'll find Expedition Flag: Basalt Waves.
Flooded Buildings
Before continuing, turn around and spot a grapple point on the left side. Cross over and use a second grapple point to reach Expedition Flag: Flooded Buildings.


Go through the door and down the stairs. Head outside to kill a patrolling Rocher. When the path splits, enter the building on the left first. Exit from the upper floor and use the handholds on the right wall to climb down to a hidden area containing a Revive Tint Shard.

After collecting it, climb back up and continue along the path, taking down a Greatsword Cultist along the way. At the end of this path, collect the Recoat and interact with the ripple to create a new shortcut.


Next, turn back and look for a grapple point on the right, zip through it to get Pictos – Enfeebling Mark. Return through the building to the split in the path. Now, grapple to the right building and continue until you find climbable ledges on the right for a Colour of Lumina.


Further along, defeat a Hexga and its allies, then check the nearby impaled corpse for Pictos - Healing Tint Energy. Use the magic rope ahead to enter the building above. Go through the second door and immediately look left for handholds leading to Lune Weapon - Coralim.
Drop down, go down the stairs, and use the grapple point to return to Expedition Flag: Basalt Waves.
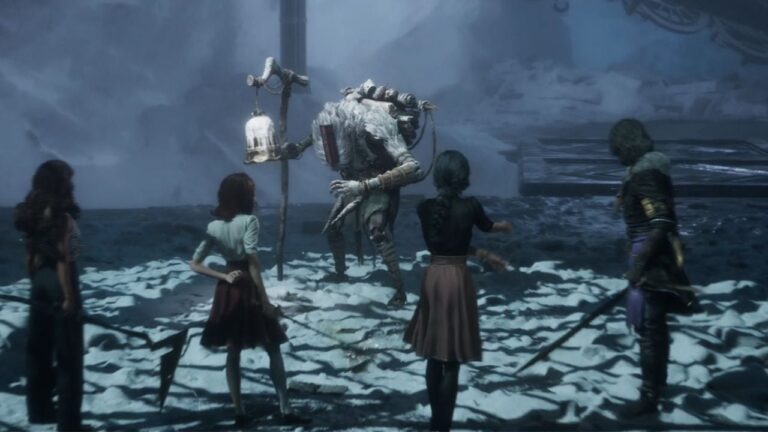
Boss: Lampmaster
Rest at the Expedition Flag and take time to upgrade your skills and assign attribute points. You'll need to be prepared for what's coming. When ready, enter the cave ahead for a cutscene followed by a boss fight.
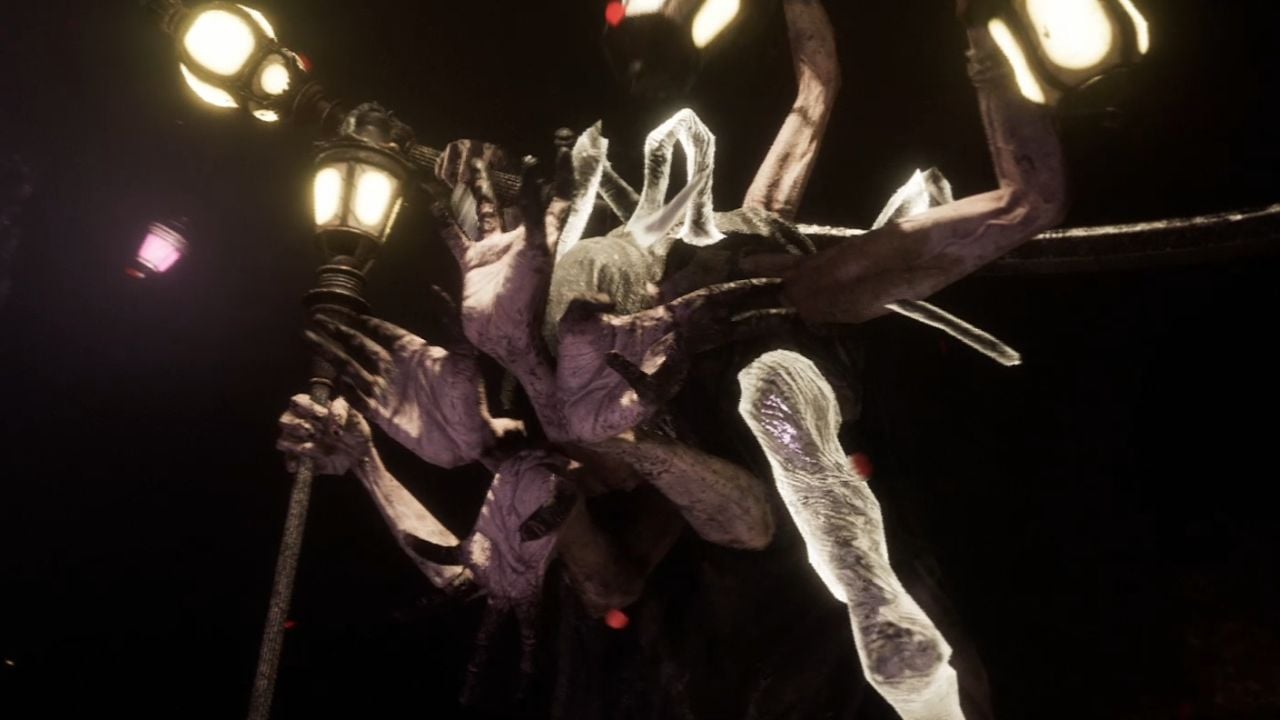
The Lampmaster is a floating mass of lanterns, tentacles, and arms with two phases:

Phase One:
- Jump Attack: The boss leaps and slams down with its spear
- Light Projectiles: When the lights go out, prepare to dodge four quick projectiles
- Lamp Power Attack: Most dangerous attack, hitting all party members, counter when you see the purple flash
Try to apply Mark and deal as many parries and counterattacks as you can. You can slow the boss by using Lune’s Ice Lance. With Sciel, focus on getting into Twilight mode and apply 20 Foretell before using Phantom Blade. Maelle’s physical damage is really good against Lampmaster, especially with a Mark on.

Phase Two:
- Sword of Light: Horizontal slash hitting your entire party
- Ball of Light: Jump over this large light attack
- Lamp Ritual: Watch the order of lamp lighting and shoot them in the same sequence to damage the boss and prevent its Sword of Light attack
- 4-Hit Combo: Either attacks with each arm or a flying combo sequence
After defeating the Lampmaster, watch the cutscenes and prepare for another boss fight with Gustave alone.
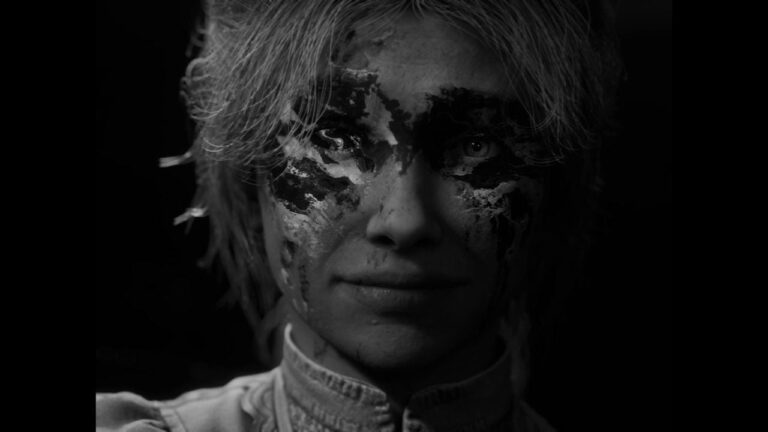
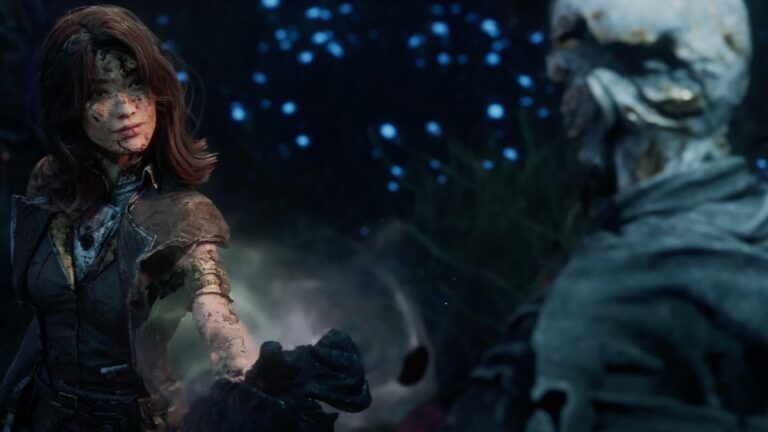
Boss: White-Haired Man

Finally, you will encounter the mysterious White-Haired Man, this time in an actual fight. However, you will barely deal any damage to him, and he will not attack. All you need to do is keep hitting him until you fully charge the Overcharge meter, then activate the Overcharge.
Doing so will end the fight and trigger a cutscene, concluding Act 1. You will then be introduced to a new character, Verso, before heading to camp and continuing your journey to The Forgotten Battlefield.