You've made it to the final chapter of Clair Obscur: Expedition 33! Act 3 brings you back to Lumière for an epic conclusion filled with challenging bosses, valuable loot, and important story decisions. This complete walkthrough will guide you through every area, enemy encounter, and collectible so you don't miss anything important.
Harbour Area
Before diving into the action, there's one crucial thing you need to do immediately. Equip the Painted Power Pictos that you got from defeating the Paintress. This Pictos lets your characters deal more than the previous 9,999 damage soft cap per attack, which will make the upcoming battles much more manageable.

Make sure to keep it equipped until you’ve learned it’s Lumina, so all party members can use it passively for only 5 Lumina Points.
When you arrive in Lumière and finish watching the opening scenes, you'll find yourself on the docks with full control of your expedition. This area serves as your introduction back to the city, but it's packed with useful items and enemies to fight.


Start by following the docks to their end where you'll discover the Expedition Flag: Harbour, go ahead and activate it. Just beside the nearby staircase, take a quick detour to the right, you’ll spot your first Colour of Lumina in this area.
Now, go up the stairs, but take it slow. As you reach the first landing, check the right side for a Paint Spike. Break it open to earn Chroma x4,900. Once you reach the top, you'll arrive at a courtyard with a fountain at its center. Kill all the patrolling enemies here, the first one you defeat will drop the Pictos - Shortcut.


From the top of the stairs, head right to witness an epic fight on the platform (which gets boring after 10 seconds). Behind the platform, there is another Colour of Lumina. On the left side, you’ll spot a Resplendent Chroma Catalyst near the stairs, and a bit further along the left wall is one more Colour of Lumina.
Leave the harbor area and make your way to the marketplace you walked through during the game's prologue. It's a nostalgic return, but now the area is filled with hostile Aberration enemies instead of peaceful citizens.


You'll encounter Aberrations at the entrance and at the far end of the market. After clearing them out, search for loot in the side areas. On the left side of the main market street, you'll find Chroma x2,450. On the right side, climb the short stairs to discover another Chroma x2,450.

Remember the Trash-Can Man from the prologue who was hiding in a garbage can? Examine that same trash can now to learn his fate. Unfortunately, he didn't escape the gommage, but his hiding spot contains a Perfect Chroma Catalyst for you to collect.
Next, use the magic rope at the back of the marketplace to reach the rooftops. This opens up new exploration opportunities and connects different areas of Lumière.

Once you're on the rooftops, you have two directions to explore. If you head right, you'll return to the small rooftop garden where the game began during the prologue. Head there first to get Pictos - Energising Powerful and breathe in the nostalgic air, realize how far you have come.
Return to the magic rope and take the left path this time. Grapple to the next roof and follow the path until you reach Expedition Flag: Central Plaza.
Central Plaza
Drop down from the rooftops using the magic rope to enter the Central Plaza. This area introduces a new enemy type called Lumière Citizens.

You'll face two groups of Lumière Citizens in this area, go ahead and kill them. Defeating these enemies rewards you with Weapon - Liteso and Weapon - Litheson. Grab the Resplendent Chroma Catalyst just behind the fountain.


From where you descended via the magic rope, head left for a Colour of Lumina and right for another Colour of Lumina. Follow the street leading away from the area, and make sure to grab the Resplendent Chroma Catalyst from the on the right after defeating a group of enemies.


You'll soon arrive at the distinctive red and white tree where you met Sophie during the prologue. A Faceless boy now stands here, and you should speak with him to learn more about the current situation. Get the Pictos - Charging Stun under the tree. Check the same gramophone from the prologue to get a Resplendent Chroma Catalyst.
Follow the main path and activate Expedition Flag: Shattered Alley.
Shattered Alley


Follow the path until you reach a split and then take the stairs on the left first to find Chroma x2,450 hidden behind some debris. Continue forward, kill the patrolling enemies, and get a Colour of Lumina just after the next set of stairs.


Keep following the main path until you spot a large monster guarding a bridge in the distance. This is your first boss encounter, but before approaching it, explore the area thoroughly. Look to the left for a small side area containing a Colour of Lumina guarded by more Lumière Citizens. Just before reaching the monster, check the left side again for another Colour of Lumina.
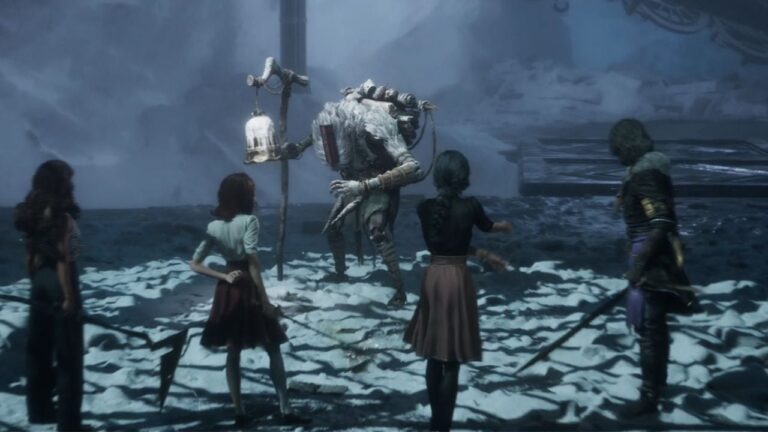
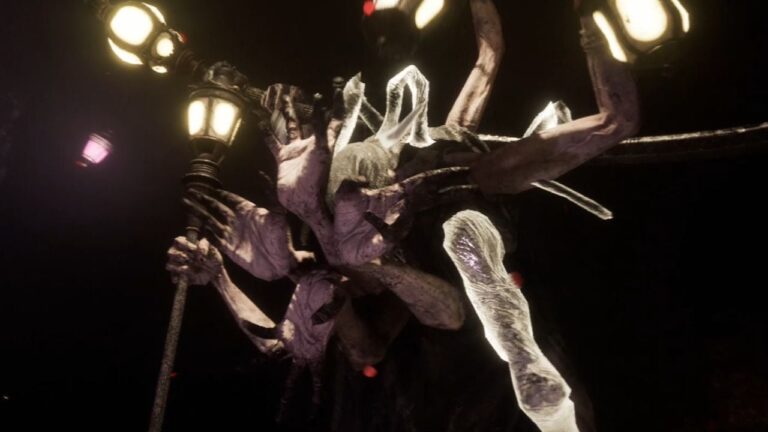
Boss Fight: Chromatic Échassier

The Chromatic Échassier is a formidable four-legged monster that towers over your party. Its sharp legs function as deadly spears, making it a dangerous opponent that requires strategy to defeat.
This boss has a weakness to Fire elemental attacks, but there's a more important mechanic to understand. The Échassier has a damage reduction modifier that significantly limits how much damage you can deal.
To remove this protection, you need to use Free Aim to target and destroy the weak point dangling from its antenna. A few well-placed shots will destroy this weak point, allowing your attacks to break the 9,999 damage limit with your Painter Power Lumina.
The Échassier uses two main attack patterns:
- Its 7-hit Combo involves the boss leaping forward to stab with its front legs in a series of seven strikes. These attacks come in groups: two 2-hit strikes from each leg, followed by three final strikes. The timing are constant, so it’s quite easy to predict.
- The Jump Attack is actually easier to counter. The Échassier performs a jumping slam followed by a Gradient Attack. You can counter this combination with a Jump Counter followed by a Gradient Counter since there's no delay between the attacks.
The most dangerous aspect of this fight is that all of the Échassier's attacks inflict Blight. This status effect reduces your character's maximum health with each stack. You can use Verso’s Burden skill to absorb teammates’ debuffs and stack them towards himself and immediately cleanse them with Purification.
If you're using Monoco in your party, you can harvest one of the boss's legs during this fight to gain a new Monoco ability.

After defeating the Chromatic Échassier, you'll receive Pictos: Augmented Counter III, 2 Resplendent Chroma Catalysts, and 5 Colour of Lumina. Grab the additional Colour of Lumina just after killing the boss, and then use the grapple points to cross the gaps and continue your journey.
Opera House


After grappling forward, head up the slope toward the Opera House. After the slope upwards, look to the left to find a Colour of Lumina behind a white boat. Continue hugging the left wall and you'll find Chroma x2,450.

Before getting into the building, check the right side of the outdoor section, and you will find a ledge you can go to. Head there and interact at the edge of the platform. Choose the option "Ask Esquie to bring it to the surface" to retrieve Journal - Expedition 60. This Journal entry stands out because it delivers a powerful message: we're capable of more than the limits society places on us. It's a meaningful reminder and an inspiring life lesson.


Enter the Opera House and climb the stairs on the right in the first room to collect a Colour of Lumina. Proceed deeper into the building and climb onto the stage. Activate Expedition Flag: Opera House on the left, and then look for Record - Lumière on the right side, in front of a closed door.
You can watch the concert if you want, but doing so will not give you anything special. After getting everything, exit through the broken wall and grapple across the gaps to continue onward.


You’ll reach a bigger area with a looped path here, let's follow the left path first. Kill the first group of enemies in front of you and then grab a Resplendent Chroma Catalyst on the left, beside the lone building. Keep following the left path, kill the patrolling enemies ahead, and look to the right for Pictos - Healing Stun.


Keep following the path, and you will see a grapple point to the left. Let’s ignore this one for now and turn right. Kill the enemy group consisting of an Aberration and an Orphelin. Kill them and get the Colour of Lumina that they were guarding. If you have Monoco in your party, he will get Orphelin Cheers skill, a really good supporting skill.
Continue to find one final group of enemies in this looped area. Defeating them rewards you with Monoco Weapon - Ballaro. They're also guarding Pictos - Healing Stun (or Chroma x1,520 if you already have this Pictos).


Now that you've completed the loop, head to the grapple point that we ignored earlier and zip through the gap. After crossing the gap, immediately turn left to find a Colour of Lumina. Continue along the main path to encounter the Young Boy again. This mysterious character has appeared throughout your journey, so make sure to speak with him.
From his location, turn right and go around the corner to find a Paint Spike. Destroy it for Chroma x4,900. Return to the main path and grapple across the next gap.


As you land, immediately look to the left to find a Resplendent Chroma Catalyst. A bit further along this path, keep an eye out on the left side to find Chroma x2,450 behind some crates.
Keep following the main path, and you will eventually come across Cribappa, a Gestral Merchant who offers high-level weapons for sale. His inventory includes Lune Weapon - Potierim (Lv 16), Maelle Weapon - Volesterum (Lv 16), Monoco Weapon - Ballaro (Lv 16), Verso Weapon - Gaulteram (Lv 16), and Sciel Weapon - Sadon (Lv 16). If you can defeat Cribappa in combat, he'll also sell Pictos - Full Strength.
After getting what you need from Cribappa, continue forward and you will reach Expedition Flag: Lumière's Gardens.
Lumière's Gardens
The garden area has a lot of loot to get before facing the bosses in Act 3, so take your time to explore thoroughly.


After activating the Expedition Flag, head towards the first left turn. At the end, you'll find a statue of a Clair Obscur with a Recoat at its base. Next, follow the main path and look for another Recoat on one of the benches on the right side.
Before moving forward, head back toward the Expedition Flag until you find a set of stairs to the side. With your back facing the Expedition Flag, take the stairs on the left first.
Left Garden Area


After descending the stairs, look to the left corner to find a Colour of Lumina. Once collected, head toward the arch blocked by a large boulder, simply go around it. A pair of Abberations will spawn, defeat them, and then climb the stairs on the left to obtain Pictos - Gradient Fighter.


Return to the lower level and proceed through the left arch. In the middle of the garden on your right, you’ll find a statue hiding a Recoat. Collect it, then continue along the pathway. On the left, three Abberations will spawn, defeat them, and claim the Colour of Lumina they were guarding.
Right Garden Area


Cross to the opposite area and descend the stairs on the other side to explore the right section of the gardens. From the bottom of these stairs, look to the left to find a Recoat hidden in the fallen statue. Defeat the enemies near this spot, and look for Chroma x2,450 on the platform behind them.


Head back down and follow the arch to the left. Climb the set of stairs on the left to grab Chroma x2,450. Continue along the arch on the left, kill the spawned Aberrations, and look for a Colour of Lumina hidden in the fallen statue in the garden just up front.
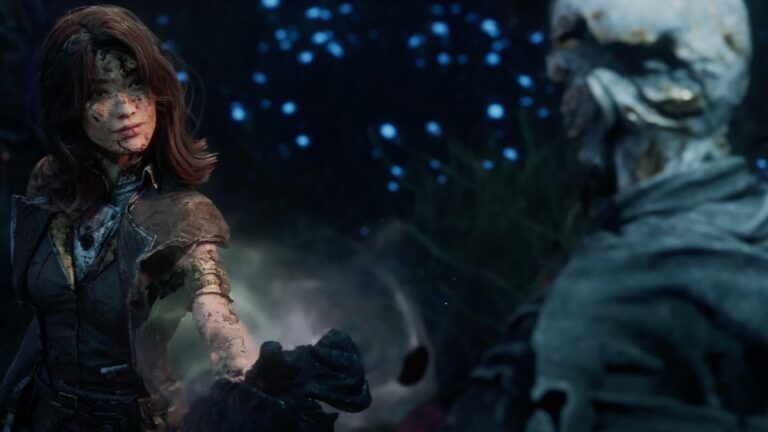
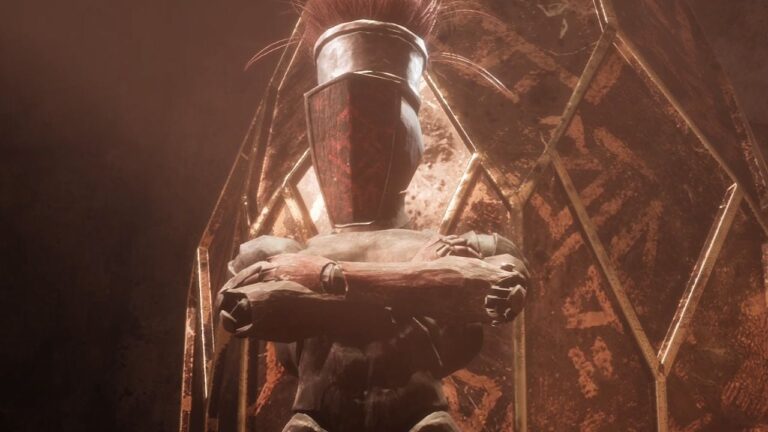
Boss Fight: Création

Once you've thoroughly explored the gardens and collected all the loot, use the Expedition Flag to rest up if needed. Then follow the main path to battle the Création boss.
There are two things to note before confronting this boss:
- You can use Monoco to get the boss’ legs for a new skill.
- It’s best to have Verso in your party, equipped with 2 specific skills: Burden and Purification.
- You can also use Energising Cleanse Pictos to convert the debuff into AP instead.

You’ll need Verso’s Burden and Purification skills for this boss fight, as the enemy applies Inverted at the start of battle. Inverted prevents your party members from healing, in fact, attempting to heal while under this status will actually damage them.
To make things worse, the Abberations fighting alongside the boss can inflict Blight and Burn on hit. Combined with Inverted, these ailments can devastate your party within just a few turns.
This is where Verso’s Burden and Purification come in. Burden removes all debuffs from your allies and transfers them to Verso. After surviving one turn with the debuffs, use Purification to cleanse them completely, keeping your party safe.
The best way to tackle this fight is to first target the Aberrations. The boss itself is resistant to Light damage, but can be burned, so stacking with the burning effect is effective.
While on the ground, the Création uses three main attacks:
- Kick: Spins and quickly kicks with its hind legs. Once the boss starts to turn, be ready to parry immediately.
- Tail Swipe: A 3-hit spinning combo: spins clockwise twice, then once counterclockwise. Parry each hit by timing it right after the brief slow-motion wind-up.
- Melee Combo: Leaps forward and performs a 3-hit combo, followed by a short pause, then two powerful head slams. The slams have a noticeable wind-up, giving you time to parry.

When the Création reaches about 50% health, it rises into the air and summons three Void Orbs and six shields. The Inverted ailment gets reapplied to your party at this point.
While in midair, one Void Orb detonates at the start of each of the Création’s turns. The boss then executes one of two devastating attack patterns:
- Flying Combo: A six-strike assault beginning with two head slashes, followed by a sweeping tail attack, another tail sweep into a head strike, and concluding with a lethal blow. You’ll need a Jump Counter to avoid the initial tail sweep and a Gradient Counter to survive the final hit.
- Projectile Combo: The boss launches three projectiles at random targets among the party. Watch the direction of its head to dodge or parry each shot with proper timing.
After defeating the Création, you'll receive Pictos: Faster than Strong and a Resplendent Chroma Catalyst.

After beating the boss, climb the first set of stairs and look to the right to get Chroma x2,450. Continue onwards and talk to the Young Boy once again. Activate the Expedition Flag: Crooked Tower Walkway next to the boy.
This is the final Expedition Flag you'll encounter in the main story. Before proceeding, make sure you've upgraded everything, your attributes, skills, weapons, and Lumina Points. Moving forward marks a point of no return.
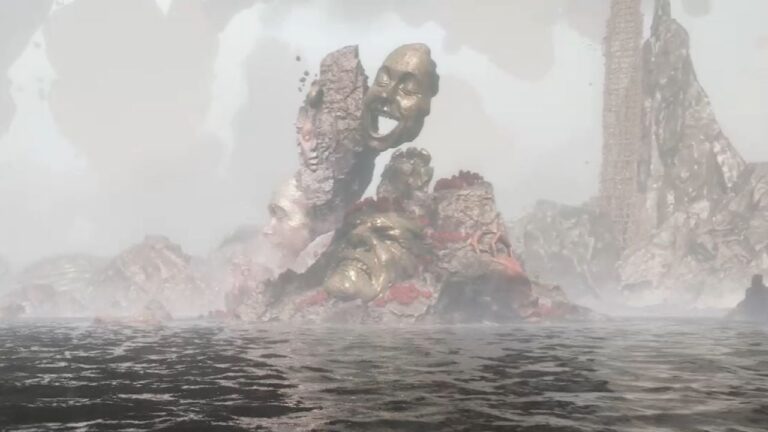
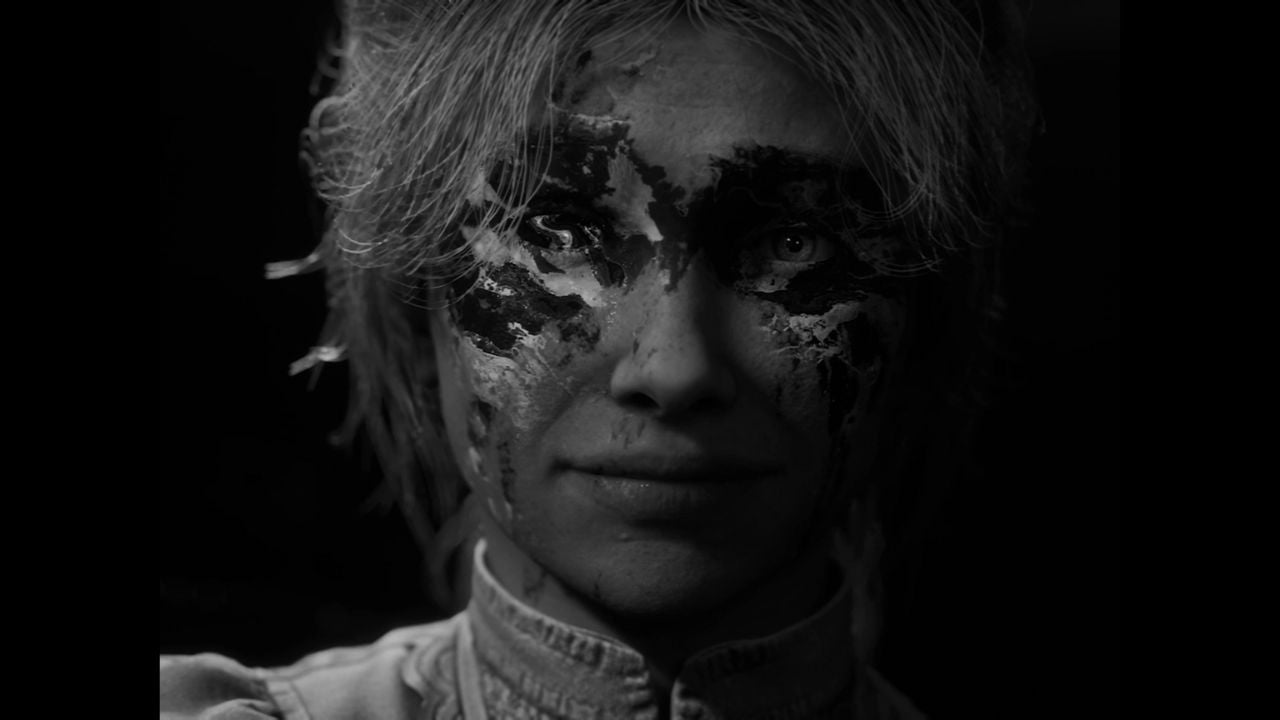
Final Boss: Renoir
From the Expedition Flag, follow the only path forward. At the end of the road, you'll see Renoir waiting for you. Approach him to trigger the final scenes and the story's ultimate boss battle.
The Renoir fight represents the culmination of everything you've learned throughout your journey. Use all the strategies, combos, and equipment you've mastered to overcome this final challenge. This fight will take quite a long time, so make sure you are prepared.
Renoir doesn’t have any specific weaknesses, but he can be affected by Burn, Slow, and Defenseless debuffs. Make sure to use every debuff available to expose his vulnerabilities and maximize your damage.
Phase One

In Phase One, Renoir uses a variety of moves:
- Combo Attack: Winds up for two brush swipes, then leaps forward to perform two quick sword slashes, followed by a final overhead slash after a brief wind-up.
- Void Cross: Paints a glowing cross that unleashes a forward slash after a short delay.
- Brush Attack: Winds up for a wide side swipe (which must be jumped over), then slams the ground for heavy area damage.
- Black Hole: Summons a black hole above him that can be countered. Time your counter right after the black hole begins to shrink.
After his health goes down under 50%, he will summon the Axons to help him. The Visages will immediately provide Renoir with 5 shields, which is not a problem if you have Maelle’s Breaking Rules.
Phase 2

However, after Renoir’s HP drops to 1%, the Sirene will rescue him and fully restore his health. A really cool cutscene will play, marking the start of Phase 2.
In this phase, Renoir becomes significantly more aggressive with faster and deadlier attacks:
- Frenzied Assault: Starts with 3 wind-up attacks, followed by 4 rapid slashes, and finishes with a spinning Gradient strike.
- Swift Combo: Winds up for a two-hit combo, then quickly slashes twice, ending with another two-hit combo.
- Void Meteors: Summons 5 meteors that rain down in sequence. These can be parried with consistent timing.
- Pool of Darkness: Leaps into the air and charges a ground slam that creates two shockwaves. Look for the brief energy-gathering animation, that’s your cue to parry.

Once Renoir’s health drops to 50%, he will unleash his power and begin flying around the area before executing a devastating combo:
- First, he flies to the left and swipes right.
- Then immediately swipes back to the left,
- Followed by launching a Chroma Meteor,
- And ends with a ground slam.
Time your parries just as the Chroma glows before each attack to avoid heavy damage.
When his health reaches 1%, Renoir will again unleash his power and take flight. However, this time, a spectacular scene will play, it’s truly goosebump-worthy. Congratulations! You’ve defeated the final boss and earned a huge amount of XP from this climactic battle.
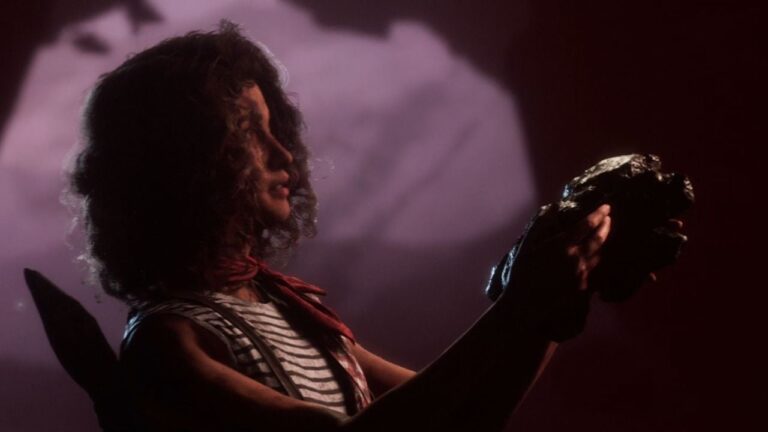
The Ending Choice
After defeating Renoir and watching several scenes unfold, you'll find yourself in a new area where the Young Boy you've encountered throughout the game is hunched over a canvas. Approach him and choose the dialogue option "It's time to stop painting".

Verso and Maelle will have a conversation, after which you'll face the most important decision in the game. This choice determines which ending you'll receive:
- Choose Verso: You'll fight as Verso against Maelle and receive the 'A Life to Love' ending.
- Choose Maelle: You'll fight as Maelle against Verso and receive the 'A Life to Paint' ending.
After the final cutscene, the credits will roll. Congratulations, you've completed Clair Obscur: Expedition 33! One of the best games ever made!
From here, you can choose any of the ending options. Watch the finale, then reload your save just before the final battle between Verso and Maelle to explore different endings.
No matter which choice you made, you can always return to the Expedition Flag: Crooked Tower Walkway by loading your last save. This allows you to complete 100% of the game, take on optional bosses, kill all Mimes, and explore any remaining areas.