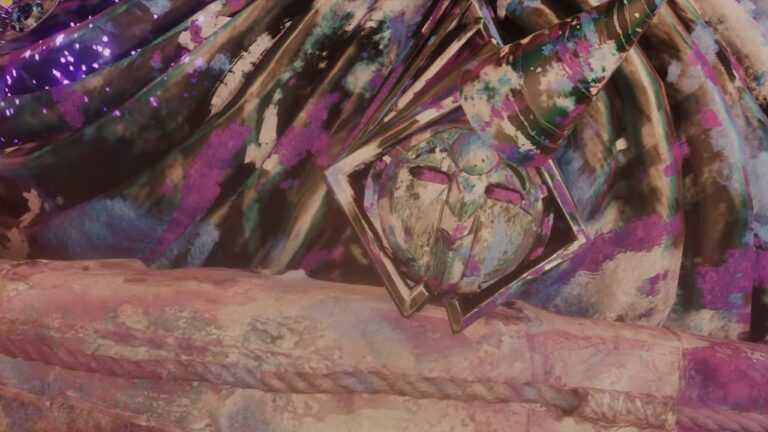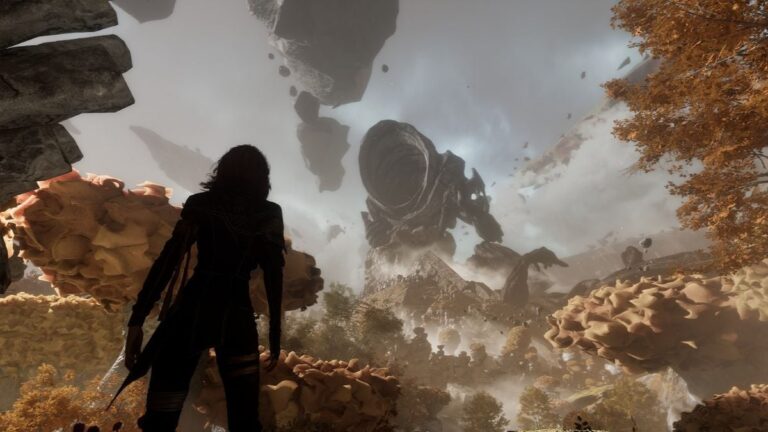
After you enter Sirene, walk on the main path until you see a bridge. Cross the bridge and you'll see a platform with two purple flames on it. Move toward the flames, and a cutscene will play showing you the second Axon. When the cutscene ends, move toward the figure in the center of the platform and interact with it.
This platform works like a lift and will take you to your next area. Once the platform stops moving, keep following the main path. You'll walk for a bit until you reach the Expedition Flag: Dancing Classes on the right side.


Dancing Classes
From the expedition flag, keep moving on the main path until you reach an area where you see two ballet enemies dancing. Here, the path splits into three directions - left, right, and straight. Let's explore each path one by one to make sure we don't miss anything.

Right Path
Take the right path first. The moment you turn right, you'll find an enemy standing there. Defeat them and you'll find Journal - Expedition 55 on the ground. Once you have the journal, go around it, and you will come across Colour of Lumina.


Left Path Exploration
Go back to the center area where the two ballet enemies are dancing. You can skip fighting these ballet enemies as they only give experience points. Now take the left path instead. Once you go inside the building, you'll see the path splits again. Go right first, and you'll see a Paint Spike. Destroy this Paint Spike to get a Resplendent Chroma Catalyst.

After getting that item, go back and take the left side path inside the building. You'll see a magic rope. Use this rope to go down to the lower level. When you reach the bottom, you'll see a grapple point in front of you and a path that turns right. Take the right turn first. Follow this path and you'll find another Resplendent Chroma Catalyst and an enemy. Defeat the ballet enemy if you want, then go back to where the grapple point was.


Use the grapple option to swing across to the other side. Follow the path after grappling, and soon you'll see a paint cage. Destroy all three paint locks to get Pictos - Shield Affinity from inside the cage.


Step onto the Gestral platform to go to the next area. Once you arrive in this area, the path splits into two directions - left and right. Take the left path first. This leads to an optional boss fight against the Chromatic Greatsword Cultist. This boss is tough but worth fighting. When you defeat him, you'll get Weapon - Sireso, Resplendent Chroma Catalyst x2, and Colour of Lumina x5. After defeating the boss, look around this area to find Pictos - Effective Heal.


Now go back and take the right path. Keep following this path, and you'll find various ballet enemies along the way. You can skip fighting these enemies if you want, since they don't give any rewards except XP. As you walk along this path, you will find a Colour of Lumina and then keep following the path to find Pictos - Greater Shell.

Climb up these structures and crawl into the building at the top. Inside the building, pick up the Resplendent Chroma Catalyst. Then look for a balcony with a rope. Use the rope to exit through the balcony. When you reach the bottom, turn right and you'll find another Resplendent Chroma Catalyst (you can also collect this one when you take the very first platform after you enter Sirene - just take a right before going towards the Dancing Classes expedition flag). After getting this item, go back to the main path. Following this path will bring you back to the Dancing Classes expedition flag where you started.


Straight Path to Next Area
Continue following the same path from the expedition flag until you reach the area with the two ballet enemies dancing again. We've already explored left and right, so this time we'll go straight. Once you start moving straight from this area, walk for a short distance, and you'll find a Resplendent Chroma Catalyst on the ground. Pick it up and keep following the straight path. You'll walk for a while until you reach another lift platform. Step onto this lift to move to the next major area of Sirene.
You'll reach a new area with a statue in the center. The path splits into three directions from here - left, right, and straight. We'll explore each direction to get all the collectibles.


Left Path from Statue
Go left first from the central statue. You'll see a petank platform in this area. Next to the petank platform, you'll notice a paint spike. Destroy this paint spike to get a Colour of Lumina. Don't worry about the petank right now - we'll come back for it. Go back to the main area with the statue.

Straight Path from Statue
From the central statue, walk straight ahead. You'll see a large dish. Inside this dish, you can find some chroma. Collect the chroma from the dish. Next to the dish you will see a Petank. You need to lead it back to the platform we saw on the left path. Once you get the petank to its platform, you can fight it. Defeat the petank to get 5 Resplendent Chroma Catalysts, 1 Recoat, and 5 Colour of Lumina.

Right Path from Statue
Take the right path from the central statue. You'll notice this path also splits into two directions. Take the left direction first. You'll meet some enemies here. Fight and defeat them to get Lune Weapon - Colim. After the fight, look for a ribbon or path that continues to the left. Follow this ribbon path to the very end and you'll find a Colour of Lumina.
From where you found the Colour of Lumina, jump down to the ground level. Here you'll spot Pictos - Auto Regen next to an enemy (Benisseur). Defeat this enemy to get a Pictos - Powerful On Shell.


Once you've collected everything here, go back to where you first entered this room. Remember, there was another direction we didn't take yet. On the other side of where you came in, you'll see a doorway. Go through this doorway, and it will lead you to a tunnel. After exiting the tunnel, you will have two paths - the one on the left leads you outside, and here you will find the Resplendent Chroma Catalyst, and the one on the right where you will find the platform lift that you need to take to progress through the main story.


After getting it, go back to the lift platform and use it to reach a new area. Walk forward for a few steps and you'll see the path splits into two parts again. Take the right path and you'll see a "manor door" in the distance. Walk up to this door and interact with it to enter the manor.

The Manor Revisited
This time when you enter the manor, you'll be in a bathroom. Open the door, then shoot the sink mirror. Go through the new opening that appears, drop down to collect the Shape of Health, and exit the manor to return to Sirene.
Dancing Classes
Now that you're back in Sirene from the manor, keep following the main path. Walk forward until you find the Fading Man NPC. Walk up to this Fading Man and interact with him. After you finish talking with the Fading Man, look around the area. In the distance, you should be able to spot a Colour of Lumina. Walk over and collect it, then continue forward to the next room.


When you enter the next room, look around carefully. You'll see a grapple point straight in front of you and an enemy standing on the right side of the room. Go to the right first and fight this enemy. After defeating the enemy, follow the path in this direction all the way to the end. At the very end of this path, you'll find Pictos - Protecting Death.


After collecting it, go back to where the grapple point was. Use the grapple point to swing across to the other side. Once you're on the other side, keep following the path all the way to the very end. At the end of this path, you'll find another. Look around from where you found the Colour of Lumina. You should see a pillar with another grapple point on it. Use this grapple point to swing to the other side again.

Once you're on the other side after the second grapple, you'll see two paths you can take. Take the left path first. As you walk down the left path, you'll encounter an enemy. Keep walking to the very end of the left path, and you'll find a Resplendent Chroma Catalyst.


From where you found the Resplendent Chroma Catalyst, drop down to the level. Go through the left door and you'll find a mime inside. Defeat this mime enemy to get Lune Haircut - Sirène.
After defeating the mime, go back to the area where you dropped down. From this area, start moving straight ahead. You'll walk forward and then go down some stairs. As you go down the stairs, look for a slight left turn. Take this left turn, and it will lead you to Expedition Flag: Sewing Atelier.


Sewing Atelier
From the Sewing Atelier expedition flag, you'll notice there's a boss fight right across the archway. This is an optional boss, so make sure you're ready with your skills and attributes before fighting it. But before you take on the boss, you should explore both the left and right paths from this area to find collectibles.

Right Path
Take the right path first from the expedition flag. Walk along this path until you get close to a grapple point. Near this grapple point, you'll find a Resplendent Chroma Catalyst. Pick it up and then go back to the main area.


Left Path
Now take the left path. Look for ledges that you can climb. Climb up these ledges until you reach the top. At the top, you'll find a paint cage. Find and destroy all three locks to open the paint cage. Inside the paint cage, you'll get a Revive Tint Shard. Follow this path to find the Resplendent Chroma Catalyst.


Optional Boss Fight - Tisseur
Now you can take on the optional boss called Tisseur. This boss is tough but gives good rewards. If you decide to fight it, defeat the Tisseur to get the Tissenum weapon and the Anti-Charm pictos. Remember, since this is an optional boss, you don't have to fight it if you don't want to. If you want to skip the boss fight, you can simply use the grapple point to swing across and continue on the main path.
As you continue on the path, look to the left side and you'll see some ledges you can climb. Climb these ledges all the way to the top. At the top of the ledges, you'll find some chroma to collect. After getting the chroma, drop back down to the main path and continue following it. Keep walking until you find a rope that you can use to go down to a lower area. Use this rope to descend, and once you reach the area below, look to the right. You'll see the Expedition Flag: Crumbling Path.


Crumbling Path
At the Crumbling Path expedition flag, take time to rest and upgrade. There's another boss fight coming up, so make sure you're ready. Before you go to face the boss, turn right from the expedition flag and head behind some rubble or debris. Behind this rubble, you'll find an Energy Tint Shard. Pick it up.
From the expedition flag, look further ahead toward the edge of the area. You'll see a rope you can use to go down even further. Take this rope down, and when you reach the bottom, follow the path to the right. You'll come to another grapple point. Use the grapple to swing across to the other side. Once you're across, keep following the path to the very end. At the end, you'll see a crawl space you can go through. Crawl through this space, and on the other side, you'll find Picto- Healing Fire.


After this, get back to the expedition flag and from there go towards the left side area. Look for a large fallen pillar in this area. Behind this large fallen pillar, you'll see wall structures that you can climb.
Take the rope down and you'll find a Petank enemy at the bottom. Don't worry though - the platform you need to bring the Petank to is just up some steps nearby. Before you deal with the Petank, look at the broken vase on the left side of a bridge in this area. Inside or near this broken vase, you can pick up a Colour of Lumina.
Now you need to lead the Petank back to its platform and defeat it to get 5 Resplendent Chroma Catalyst, 1 Recoat, and 5 Colour of Lumina.
Next to the Petank platform, you'll find a Gestral merchant named Klaudiso. This merchant sells these items:
- Double Mark Pictos for 42,400 Chroma
- Energising Attack II Pictos for 37,100 Chroma
- Greater Powerful for 37,100 Chroma
You can also fight this merchant if you want. If you defeat him in combat, you can get Chantenum weapon for 18,656 Chroma.


Boss Fight: Glissando
When you're ready for the next boss fight, go back to the Crumbling Path expedition flag. From the flag, approach the boss named "Glissando," and it's a story boss, which means you have to fight it to continue.
Defeat Glissando to get several rewards: Sirene Outfit (Lune), a Resplendent Chroma Catalyst, and the boss will also unblock the path so you can continue. After defeating Glissando, head down to the platform lift in this area. Use it to get to the temple area.
In this area, find a large column, and you can pick up a Resplendent Chroma Catalyst. Also in this area, look for some boxes. Near these boxes, you'll find Journal - Expedition 67. After collecting both items, proceed to the main path to reach Expedition Flag: Dancing Arena.


Dancing Arena - Final Boss Fight
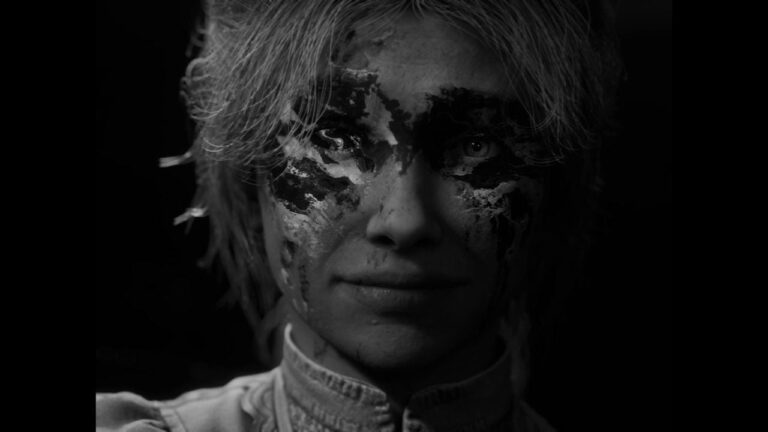
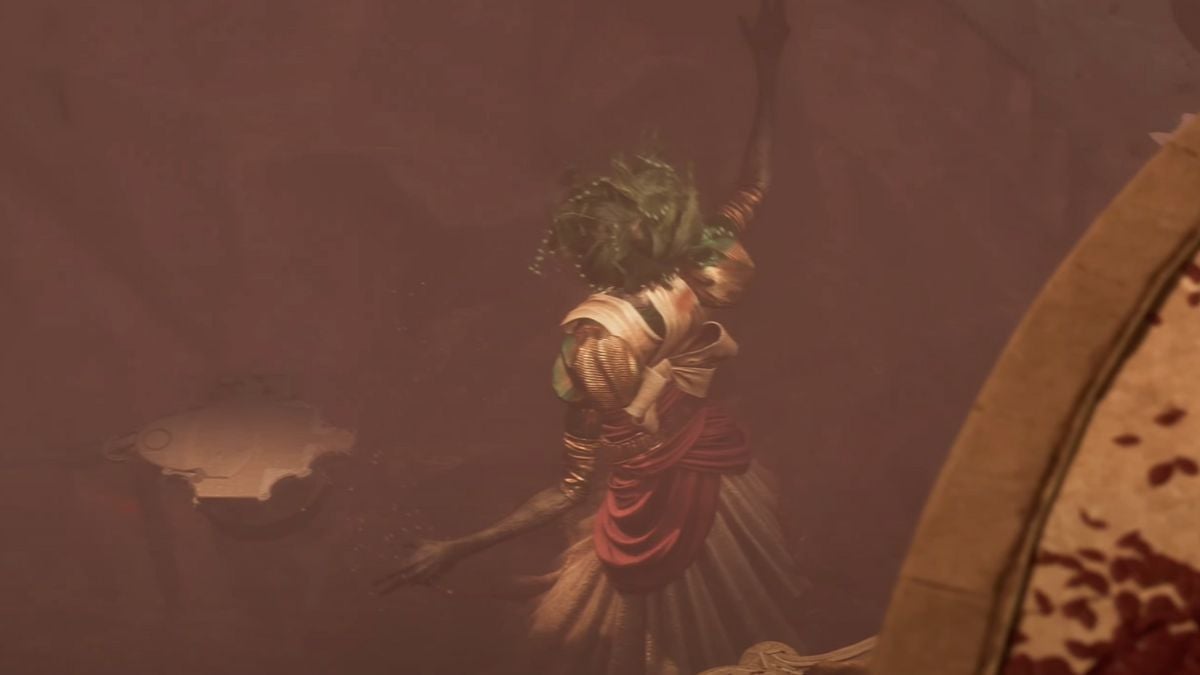
You'll reach the final expedition flag called Dancing Arena. This is where you'll face Sirene herself, the main boss of this area. Before approaching Sirene, make sure your skills and attributes are set up the way you want them.
When you're ready, approach Sirene. As you get closer to her, a cutscene will play that shows the start of the boss fight. After the cutscene ends, you'll be in combat with Sirene, the second Axon.
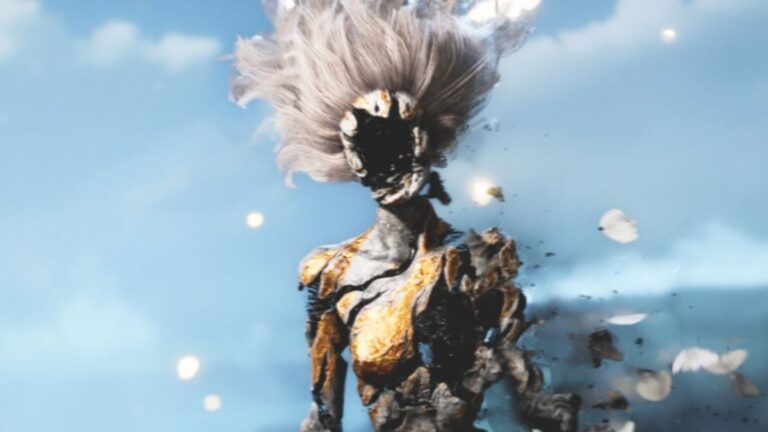
After you defeat Sirene, you'll get Tisseron (a weapon), Energising Turn (a picto), 3 Resplendent Chroma Catalysts, and a Recoat.
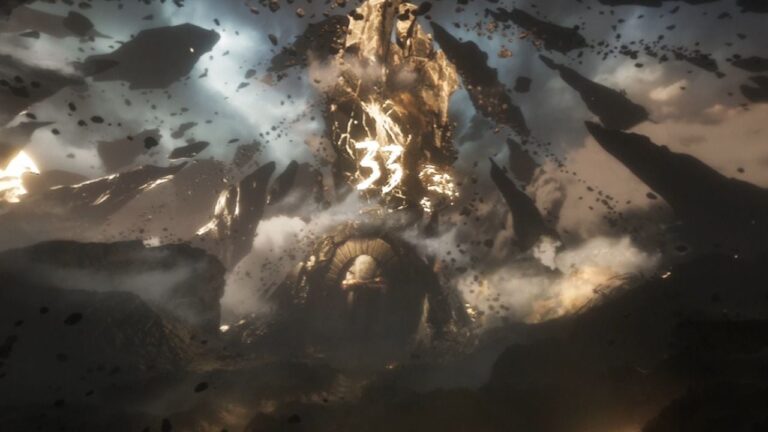
Once Sirene is defeated, another cutscene will play, and after that, you will be back at the camp. Once you're back at camp, you'll be able to continue your journey toward the Monolith, which is your next destination.
All Collectibles
| Category | Item | Location/Notes |
|---|---|---|
| Weapons | Sireso | From defeating Chromatic Greatsword Cultist |
| Colim (Lune) | From defeating enemies in right path room | |
| Tissenum | From defeating Tisseur (optional boss) | |
| Tisseron | From defeating Sirene (final boss) | |
| Chantenum | Defeat the Gestral Merchant | |
| Pictos | Shield Affinity | Paint cage after grappling across |
| Effective Heal | Area after defeating Chromatic Greatsword Cultist | |
| Greater Shell | Base of fallen pillar on right path | |
| Auto Regen | Next to enemy after jumping down | |
| Protecting Death | End of path after fighting enemy | |
| Energising Turn | From defeating Sirene | |
| Anti-Charm | From defeating Tisseur | |
| Healing Fire | Crawl space at end of rope path | |
| Double Mark | Klaudiso | |
| Energising Attack II | Klaudiso | |
| Powerful On Shell | From defeating Benisseur | |
| Materials | Resplendent Chroma Catalyst | Multiple locations throughout Sirene |
| Colour of Lumina | Multiple locations throughout Sirene | |
| Recoat | From defeating Petank and Sirene | |
| Energy Tint Shard | Behind rubble near Crumbling Path flag | |
| Revive Tint Shard | Paint cage in Sewing Atelier left path | |
| Journals | Expedition 55 | After defeating three enemies on right path |
| Expedition 67 | By boxes near large column in temple area | |
| Haircuts | Lune Haircut - Sirène | From defeating mime |
| Outfits | Sirene Outfit (Lune) | From defeating Glissando boss |
| NPCs | Klaudiso (Merchant) | Near Petank platform in Crumbling Path |
| Fading Man | On main path before grapple area | |
| Bosses | Chromatic Greatsword Cultist | Optional boss on left path (upper area) |
| Tisseur | Optional boss in Sewing Atelier | |
| Glissando | Story boss before Dancing Arena | |
| Sirene | Final Axon boss in Dancing Arena |