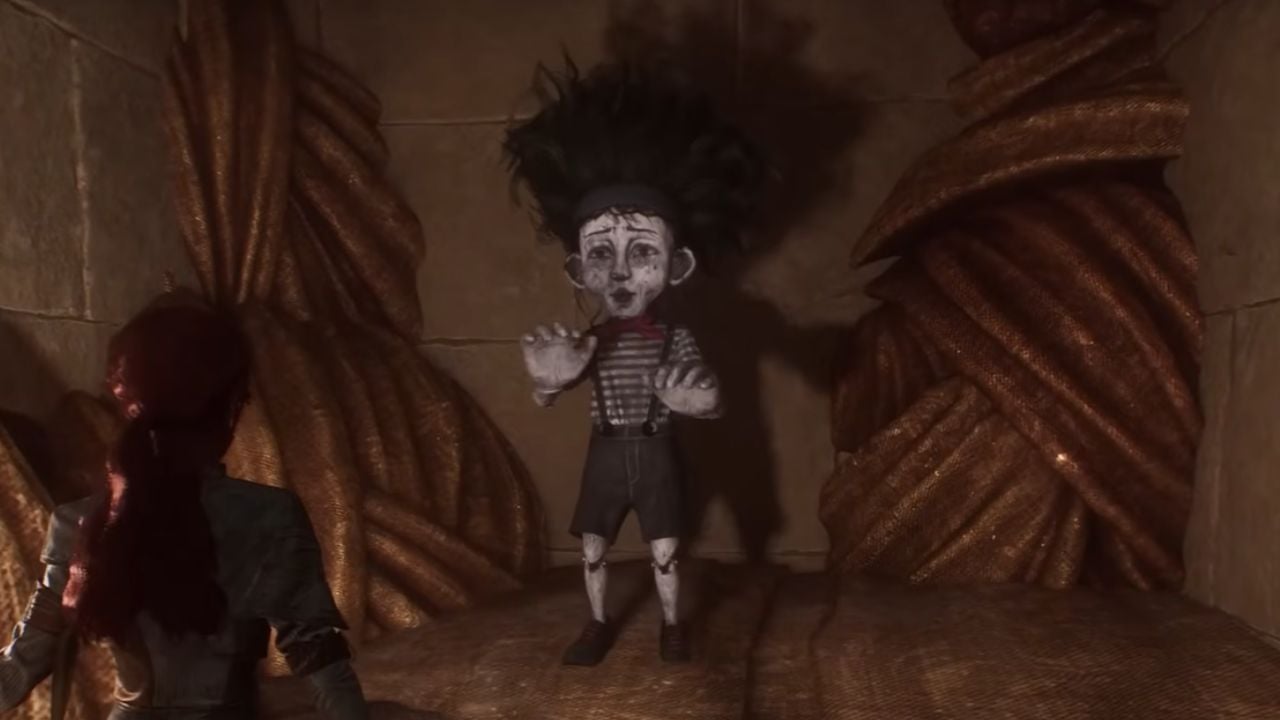
Mimes are optional enemies that reward players with various items. While defeating them is not required to progress the main quest, Mimes are definitely worth your time. There are a total of 16 Mimes in Clair Obscur: Expedition 33, and in this guide, we’ll explain how to locate and defeat each one.
How to Beat a Mime in Expedition 33
Before we dive into locations, you need to understand what makes Mimes special. Unlike other bosses that have dozens of different attacks, Mimes only use two moves throughout the entire game.
- The first attack is their Hand-to-hand combo. The Mime will rush at you and throw a right punch, followed by a left punch, then finish with a headbutt.
- The second attack is much nastier, Mime performs a strange combo where they pull out a massive hammer and slam it down four times in a row.

Here's the key to beating any Mime: breaking their defensive stance. Mimes have incredibly high defense that makes your regular attacks feel like you're hitting a brick wall. But once you break their stance, their defense drops dramatically, and you can deal real damage.
The best skills for breaking Mime defenses include Gustave's Overcharge and Shatter early in the game, Lune's Mayhem if you have four Stains, and Maelle's Fleuret Fury. Always check skill descriptions, they'll tell you if a skill can break enemy defenses.
Act 1 Mime Locations (Mimes 1-6)
Mime 1 - Lumiere (Prologue)
Rewards:
- Lumiere Music Record


Your first Mime encounter happens during the Prologue in Lumiere. After you escort Sophie to the harbor for the Gommage ceremony, you'll walk through the Flower Market into a big open area filled with NPCs talking about the upcoming event.
Look for the fountain in front of the broken archway that looks like the Arc de Triomphe. From there, head right toward the performance stage. Once you're facing the stage, turn right again and you'll spot the Mime standing alone in a dark, creepy corner.
Mime 2 - Spring Meadows


Rewards:
- Gustave Outfit - Baguette
- Gustave Haircut - Baguette
In Spring Meadows, follow the main story path until you reach Expedition Flag: Grand Meadow. After the Expedition Flag, look to the left and go through this side path. Kill the patrolling enemy, then keep going forward. Grapple through the set of gaps, and you will find the Mime on the end platform.
Mime 3 - Flying Waters


Rewards:
- Maelle Haircut - Short
In Flying Waters, after you pass the Expedition Flag: Coral Cave, proceed towards the main path until you see a huge Bourgeon. Next, turn right, and you will see a climbable handhold on the right. But instead of going there, hug the left wall and go through a side path hidden by tall seaweeds. Climb the climbable handholds here, and you will find the Mime.
Mime 4 - Ancient Sanctuary
Rewards:
- Lune Outfit - Baguette
- Lune Haircut - Baguette


In Ancient Sanctuary, from the Expedition Flag: Sanctuary Maze, head toward the large bell. When you reach a split in the path, take the right route and crouch under the small passage. Follow the left path until you arrive at a large open area. Look for a windmill at the far end, just beside it, you’ll find the Mime.
Mime 5 - Esquie's Nest
Rewards:
- Sciel Outfit - Baguette
- Sciel Haircut - Baguette


In Esquie's Nest, from the Expedition Flag: Entrance, head into the main cave pathway. Once you reach the open area, immediately look to your right and down below. Drop down the ledge, and you’ll find the Mime on a small rocky platform.
Mime 6 - Yellow Harvest
Rewards:
- Maelle Haircut - Braid


This Mime requires Esquie to be unlocked as a party member and the ability to use Esquie as a mount. The Yellow Harvest area is located northwest of Gestal Village and northeast of Gestral Beach. You'll need to mount Esquie to break through the stones blocking the portal.
Once inside Yellow Harvest, turn right and climb the handholds. Drop down from the ledge, follow the path, and enter the cave. When you reach the large open area, look for a white climbable ledge ahead.


Climb it and continue along the path until you reach the Expedition Flag: Harvester’s Hollow. From here, immediately turn right and jump down the rocky ledge. Hug the right wall and enter the first cave you see. At the end of the cave, you’ll find the Mime.
Act 2 Mime Locations (Mimes 7-13)
Mime 7 - Frozen Hearts
Rewards:
- Lune Haircut - Short
The Frozen Hearts is an optional area accessible after completing the Monoco’s Station chapter. From the station, head toward the northern exit. In the open area, follow the middle path to find the portal to Frozen Hearts. The enemies here are tough, so avoid engaging them while heading to the Mime.


Once inside, follow the main path and cross the train track bridge after the first Expedition Flag. From there, take the left sloped path and hug the left wall to enter a cave. At the end of the cave, climb the magic rope.


At the top, take the left path at the first split, where you’ll see a giant bell in the center. From here, hug the right wall and climb the magic rope beside the patrolling enemies. At the top, avoid the enemies and grapple across the gap, then climb the handholds following the vertical train track.


Stick to the left wall to avoid more enemies and enter the small cave at the end of the path, behind a gate guarded by a Stalact. Once you reach the open area, look for an elevated path made of train platforms. Climb up and grapple through the series of gaps. At the end, turn right, you’ll find the Mime hiding behind a pillar.
Mime 8 - Old Lumiere
Rewards:
- Sciel Haircut - Braid


After completing the main story events in Old Lumiere, you can return to explore previously blocked areas. Enter through the northern beach entrance and fast travel to the Right Street travel point using the nearest Expedition Flag.
From the Right Street flag, follow the path downward and take the left route through a broken doorway. Grapple across the gaps and continue along the main path. Keep hugging the left wall and grapple through another gap.
Pass by the shadowy figure, then keep following the left path. At the end of the path, climb the handholds, descend the slope, and you’ll find the Mime on the right.
Mimes 9 & 10 - Northwest Island
Rewards:
- Lune Haircut - Voluminous
- Sciel Haircut - Voluminous


These rather lovely-looking Mimes can be found on an island northwest of Old Lumiere’s northern portal. You’ll need Esquie’s coral-breaking ability to reach them. From the beach, use Esquie to break through the coral, then swim northwest toward the island with red trees.
Land on the island’s southern beach and take the left path at the split. At the end, you’ll find a couple of Mimes, and just behind them, there’s also a Lost Gestral.
Mime 11 - Visages
Rewards:
- Verso Outfit - Baguette
- Verso Haircut - Baguette


In Visages, from Expedition Flag: Plazza, head toward Joy Vale, the path marked by tall red trees. Enter the large mask-shaped structure. Once inside, follow the main path until you reach Expedition Flag: Joy Vale.
From there, take the path on the left, pass the couple of enemies guarding a Journal, and keep hugging the left wall. The Mime is hiding behind a lone tree at the end, near a cliff.
Mime 12 - Sirene
Rewards:
- Lune Haircut - Sirene


In Sirene, from the ribbon bridge area, follow the main path and take the elevator. Once you get off, you’ll see a Fading Man. Get past him and head toward the large opening, then grapple across the gaps and go through the archway.
Use the magic rope to descend. From the opening, there will be a door directly across. Head inside and look to the left to confront the Mime.
Mime 13 - The Monolith
Rewards:
- Maelle Haircut - Voluminous


Inside the Monolith, from Expedition Flag: Tainted Cliffs, climb the spiral stairs and grapple across the gap. Follow the main path until you reach a large frame on the left and a path split. Take the left path and climb down the magic rope, you’ll find the Mime just ahead.
This particular Mime is more challenging, as it’s guarded by both a Clair and an Obscur. Focus on defeating them first before taking on the Mime.
Act 3 Mime Locations (Mimes 14-16)
Mime 14 - The Reacher
Rewards:
- Maelle Outfit - Baguette
- Maelle Haircut - Baguette

Before you can reach this Mime, you need to defeat the Paintress to unlock Esquie’s flight ability and have a Level 5 relationship with Maelle. To raise your relationship with Maelle, visit your camp and talk to her repeatedly until she reaches Level 5. After that, she will ask you to meet Alicia "at the top of the mountain near the Monolith."


Once you’re back on the Continent, fly with Esquie toward the Reacher, located west of the Visages. Inside, follow the path until you reach the second hot air balloon. After taking the balloon, continue down the main path past the Expedition Flag, then immediately take the magic rope on the left. Below, you will find the Mime right away.
Mime 15 - Flying Manor
Rewards:
- Maelle Haircut - Clea


The Flying Manor is located on a floating island southwest of Monoco’s Station. If you have trouble finding it, start at the Painting Workshop south of Monoco’s Station, mount Esquie, face west, and fly straight up until you spot a pyramid-shaped structure. Fly to the right side of the pyramid and land on the island.


Inside the Flying Manor, walk down the entrance staircase and head north to grapple across a gap. Take the left path just beside the Expedition Flag: Central Plaza, and take the lift up. After crossing the bridge, immediately look to your left to find a Colour of Lumina. Just beside it is a magic rope, use it to climb down.
Follow the path and look to the right to climb a short magic rope. Ahead, you will find the Mime.
Mime 16 - Sunless Cliffs
Rewards:
- The One Pictos
- Maelle Haircut - Bald
- Lune Haircut - Bald
- Monoco Haircut - Bald
- Sciel Haircut - Bald
- Verso Haircut - Bald


This is the toughest Mime in the game, so don’t attempt it until you’re at least Level 75. The Sunless Cliffs region lies south of Sirene and west of Gestral Beach. Start at Sirene’s western portal and fly south to the small island where the merchant Rederi has set up shop. From there, face east to see the purple and blue portal in the mountain range.
Once inside, take the main path and turn right. Follow the path into a cave until you reach the Expedition Flag: Chroma Portal. Just ahead, you will find a red portal that only one character can enter at a time.
This Mime is incredibly strong, with a massive health pool and the ability to one-shot you. Make sure everything is fully upgraded and your strategy is well-planned before taking it on.
That’s all the Mime locations in Clair Obscur: Expedition 33. Good luck defeating them all to unlock the unique wardrobe and Pictos!
